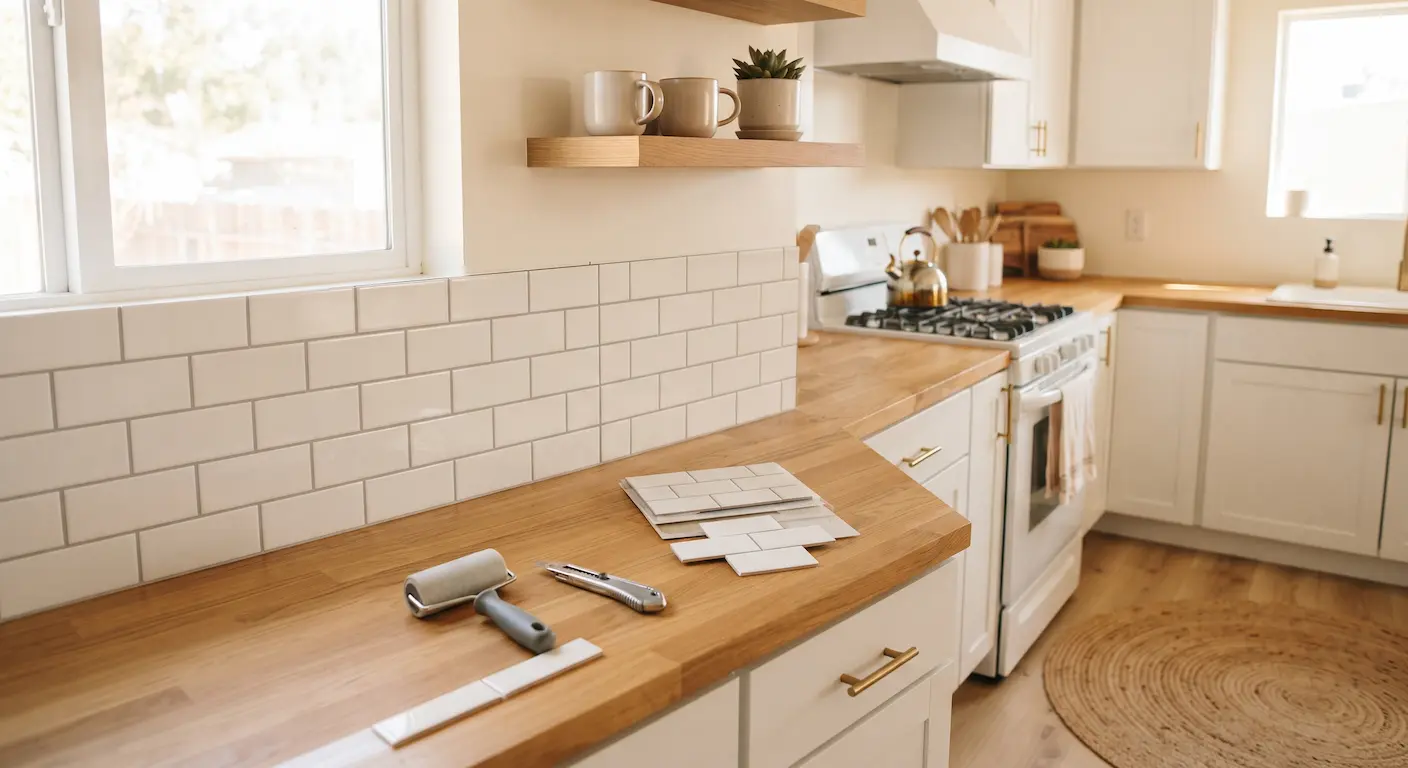
Peel-and-Stick Backsplash: What to Know Before You Start
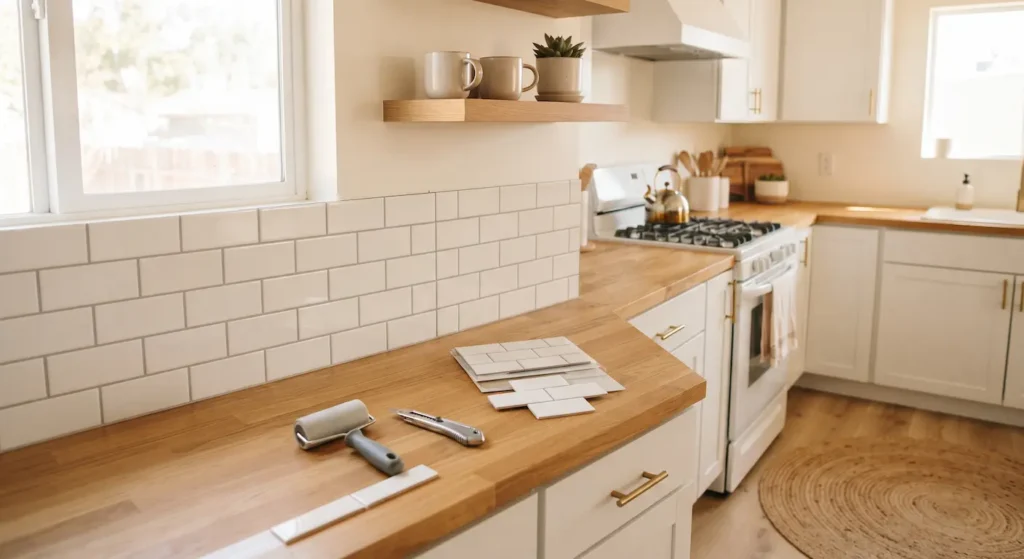
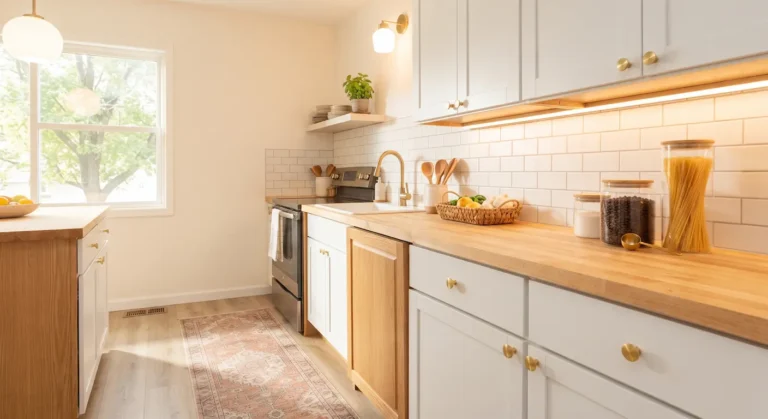
Peel-and-stick backsplash is the most popular rental kitchen upgrade on the internet, and for good reason. Forty dollars, one evening, and the beige wall behind your counter suddenly looks like a kitchen someone designed on purpose.
It is also the project people most often regret, usually for one of three reasons: they stuck it on a wall it could not come off, they put it somewhere too hot, or they skipped the prep and watched the corners curl in a fortnight.
Here’s what to know before you start, including the heat warning that matters more than anything else in this article.
What You Are Actually Buying]
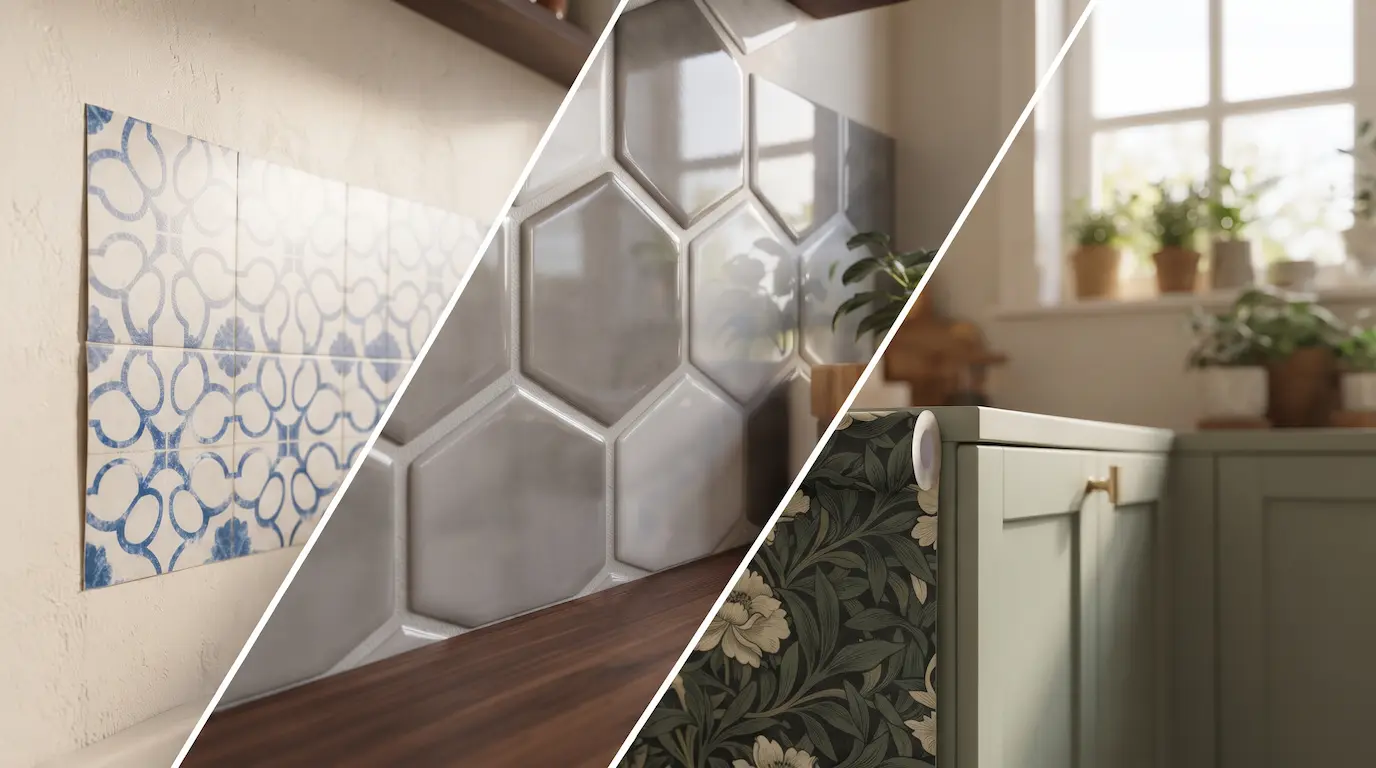
There are three different products all sold as peel-and-stick backsplash, and they behave very differently.
Printed vinyl sheets. Thin, flexible, cheapest, look like tile in photos and like a sticker up close. Best behind a counter that stays dry.
Gel or 3D tiles. Thicker, slightly raised, with a soft resin surface and grout lines you can feel. These look the most convincing at normal viewing distance. Like these peel-and-stick tiles.
Thin real tile on a mesh backing with adhesive. Heaviest, most durable, most likely to take paint off the wall when it comes down. Read the lease twice.
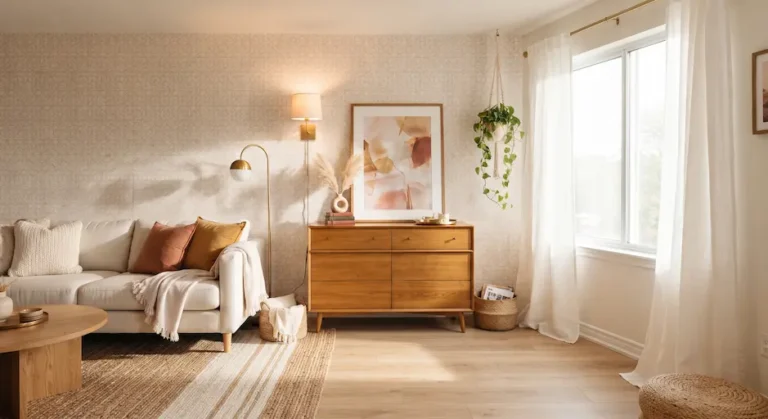
Then there is removable wallpaper, which is not waterproof but is perfectly fine on a wall that never gets splashed, like the side of a cabinet run or a coffee corner. Like this removable wallpaper.
The Heat Rule You Should Not Ignore
Do not put vinyl or gel backsplash directly behind a gas hob or within the clearance your cooker’s manual specifies. These products are plastic. Plastic near an open flame is a fire risk, full stop.
Check the product’s own temperature rating — many are rated to somewhere around 150 to 180°F, which a wall behind a hob can exceed.
Behind an electric or induction cooktop, leave a gap and follow your appliance manual’s clearance requirements. A stainless steel splash panel behind the hob, with the stick-on tile picking up on either side, is the standard safe compromise.
Also check your building’s rules. Some leases and fire regulations restrict added surface materials in kitchens. Boring, but cheaper than finding out later.
Will It Damage the Wall?
It depends almost entirely on what the wall is.
- Glossy or satin painted walls: the best case. Adhesive releases reasonably cleanly.
- Flat or matte paint: risky. Flat paint is porous and often comes away with the tile.
- Textured walls: poor adhesion, visible bumps, edges lift. Not worth it.
- Bare or freshly patched drywall: no. The paper facing will tear.
- Existing tile: excellent, as long as it is flat and the grout lines are shallow.
- Wallpaper: no. It will pull the paper off and take the wall with it.
Test one piece in a hidden spot for a week. Behind the kettle, inside a cabinet return, under the upper cabinets. Peel it off and look at what came with it. This five-minute test is the whole difference between a deposit returned and a deposit gone.
Choosing a Pattern That Does Not Date Instantly
The pattern matters more in a small kitchen than in a big one, because you see the whole run at once from three feet away.
Small, quiet patterns make a small kitchen look bigger. Plain subway, small square mosaic, simple herringbone. Busy Moroccan and heavy geometric prints look great in a photo of a large kitchen and overwhelming in an apartment galley.
Match the grout-line colour to your wall, not to the tile print. A white tile with a dark printed grout line reads as a strong grid; the same tile with a pale line reads as tile. In a narrow kitchen, the pale version disappears in the right way.
Go one shade warmer than your cabinets. Pure white tile against off-white rental cabinets makes the cabinets look grey and tired. A soft cream or a very light warm grey flatters them instead.
Check the finish under your own lighting. Glossy vinyl reflects overhead lights straight back at you and highlights every seam. A satin or matte finish hides imperfections far better in a room lit by one ceiling fitting.
And order one sample pack before the full amount. Screens lie about colour, and the tile that looked greige online is frequently lilac in person.
What You Need
- A degreaser. Kitchen walls carry an invisible film of cooking oil, and adhesive will not stick to it.
- A tape measure or laser measure for the run length and the height from counter to cabinet. Like this laser measure.
- A sharp utility knife with spare blades. Dull blades tear vinyl.
- A metal ruler or straight edge to cut against.
- A pencil and a small level. Counters are rarely level, and your eye will notice a drifting grout line.
- A seam roller or a plastic card to press the edges down properly.
- Removable clear caulk for the counter joint and the edges.
How to Do It Properly
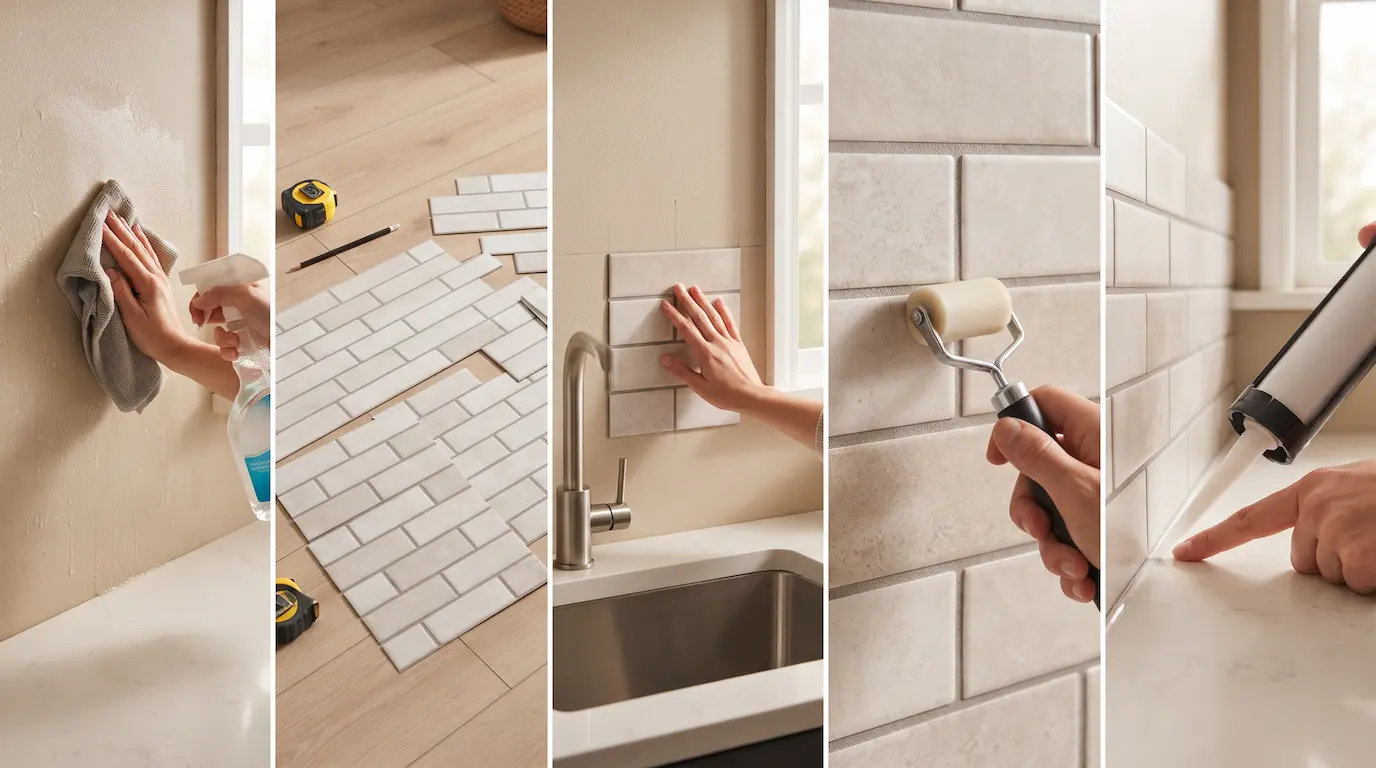
Clean and degrease the whole area, then rinse and dry it completely. Give it longer than you think — adhesive on a slightly damp wall fails within weeks.
Dry-lay the whole run on the floor first. You will immediately see whether you end with a half tile in the most visible spot, and you can shift the starting point to avoid it.
Start at the most visible point, not the corner. Usually that is the centre of the wall behind the sink or hob. Work outwards so the awkward cuts land at the ends and in corners.
Draw one level line as your reference. Do not trust the counter or the cabinet edge. If the counter slopes, split the difference across the run rather than following it.
Peel the backing halfway, position, then press from the centre out. Half-peeling lets you reposition before you commit.
Overlap the printed grout lines where the product is designed to, so the seams disappear. Butting them edge-to-edge is what creates that visible grid of joins.
Roll every edge and every seam. Curling corners are always under-pressed corners.
Caulk the counter joint last with a thin bead of removable clear caulk. That joint is where water gets behind the tile, and water behind the tile is how the whole thing fails.
Outlets and Switches
Turn off the breaker before you go anywhere near a socket. Not the switch — the breaker.
Do not tile over an outlet. Cut the tile to the opening, leaving the plate area clear, and put the cover plate back on top.
Never let tile thickness prevent a plate from sitting flat, and do not build up layers around an outlet. If in doubt, leave more of a gap and let the plate cover it.
If a socket is loose, scorched or warm, stop and report it. That is an electrician’s job and a landlord’s cost, not a backsplash problem.
Cutting Around Awkward Things
Make a paper template for anything fiddly — a window sill, a pipe, the end of a cabinet. Cut the paper until it fits, then trace it onto the tile.
Score, do not saw. Several light passes with a sharp blade beat one heavy cut that drags and tears.
Cut from the front on printed vinyl so the visible edge stays crisp, and cut on a mat, not your counter.
Finish exposed end edges with a slim trim piece or a neat caulk line. A raw cut edge is the detail that gives the whole project away.
Cost, Time and What It Looks Like After a Year
Budget roughly the cost of a takeaway for a small run, and an evening of work for a standard apartment kitchen.
Expect to touch it up. The seam beside the hob and the corner by the sink are the two places that lift first. A dab of adhesive and a roller sorts it.
Clean it gently. Soft cloth, mild soap. Abrasive pads dull the printed finish and scrubbing at the seams lifts them.
Do not steam-clean it. Heat plus moisture is exactly the combination the adhesive dislikes.
Taking It Down When You Move
Warm it first. A hair dryer on low, moving constantly, softens the adhesive and dramatically reduces the chance of pulling paint.
Peel slowly, at a shallow angle, back on itself rather than straight out from the wall.
Remove residue with an adhesive remover tested in a hidden spot first, and expect to repaint if the wall was matte.
Do it before your final inspection, not during. Give yourself a weekend of margin in case the wall needs patching.
If Your Wall or Lease Says No
A freestanding splash panel. Acrylic or stainless, cut to size, held by the counter and a couple of removable clips. Zero adhesive on the wall.
Open shelving and a good light instead. Under-cabinet LED strips change a kitchen more than tile does, honestly. Like these LED light strips.
Swap the hardware. New knobs and pulls cost very little and are completely reversible. Like these cabinet knobs.
More rental-safe kitchen changes in rental kitchen makeover ideas, and the floor version of this whole debate is in renter-friendly flooring ideas.
Your Turn
Do the test patch tonight. One tile, somewhere nobody looks, peeled off in a week. That single step decides whether this project is a cheap win or an expensive lesson.
If the test comes off clean and your hob clearance is sorted, go for it — it is one of the few kitchen upgrades that genuinely looks like it cost ten times what it did.
Which wall are you doing? Take a before photo, because IMO nobody believes the after without it. 🙂