How to Set Up a Craft Corner in a Small Apartment
Hobbies die in small apartments for one reason: the setup takes longer than the free time. If getting your sewing machine out means moving three things and finding a box under the bed, you will do it twice and then stop.
A craft corner solves that. Not a craft room — a corner, a cart or a closet where the gear lives ready to go, and where you can start something in two minutes.
Here’s how to build one in a small apartment, whatever you make.
Pick the Craft First, Then the Space
Different crafts need wildly different footprints, and this is where people go wrong — they set up a generic craft corner and it suits nothing.
- Knitting, crochet, embroidery: almost no space. A basket and a good chair, honestly.
- Drawing, journalling, painting small: a 24-inch surface and a lamp.
- Sewing: a stable 30 to 36-inch surface, plus somewhere to cut fabric, which is usually the floor or a bed.
- Paper crafts, card making, scrapbooking: a large flat surface and a lot of shallow storage.
- Jewellery making, models, miniatures: a small surface, superb light, and many tiny compartments.
- Anything with spray, resin or solvents: a ventilated space, which in most apartments means outdoors or a rethink.
Be honest about which one you actually do, not which one you would like to be the sort of person who does.
What a Craft Corner Needs
Five things, and only five. A surface, light, storage within reach, somewhere to sit, and a pack-down plan.
The pack-down plan is the one people skip, and it is what determines whether the corner survives a month.
Everything must live within arm’s reach of the surface. If you have to stand up to fetch scissors, the corner is not finished.
And it needs to be somewhere you like being. A corner facing a blank wall in a dark hallway will not get used, however well organised it is.
The Surface: Four Options
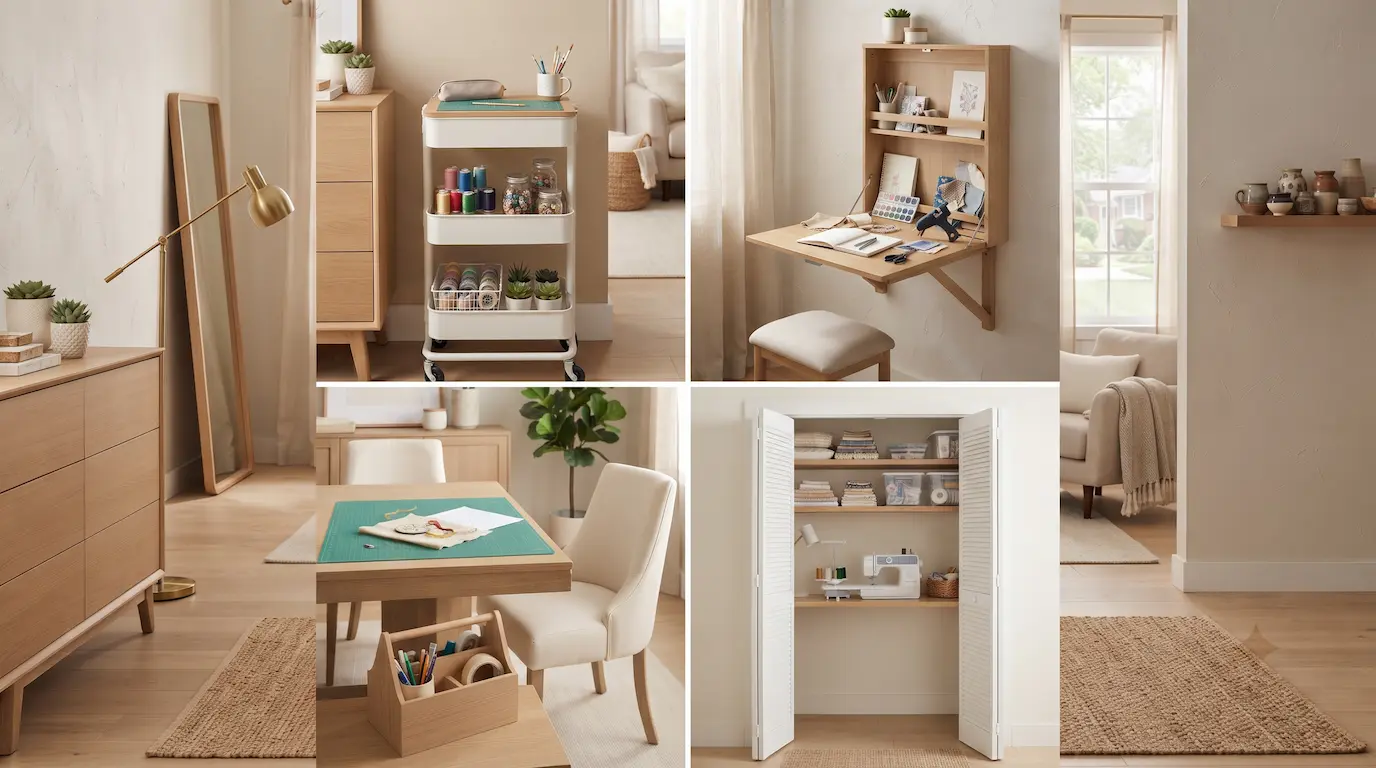
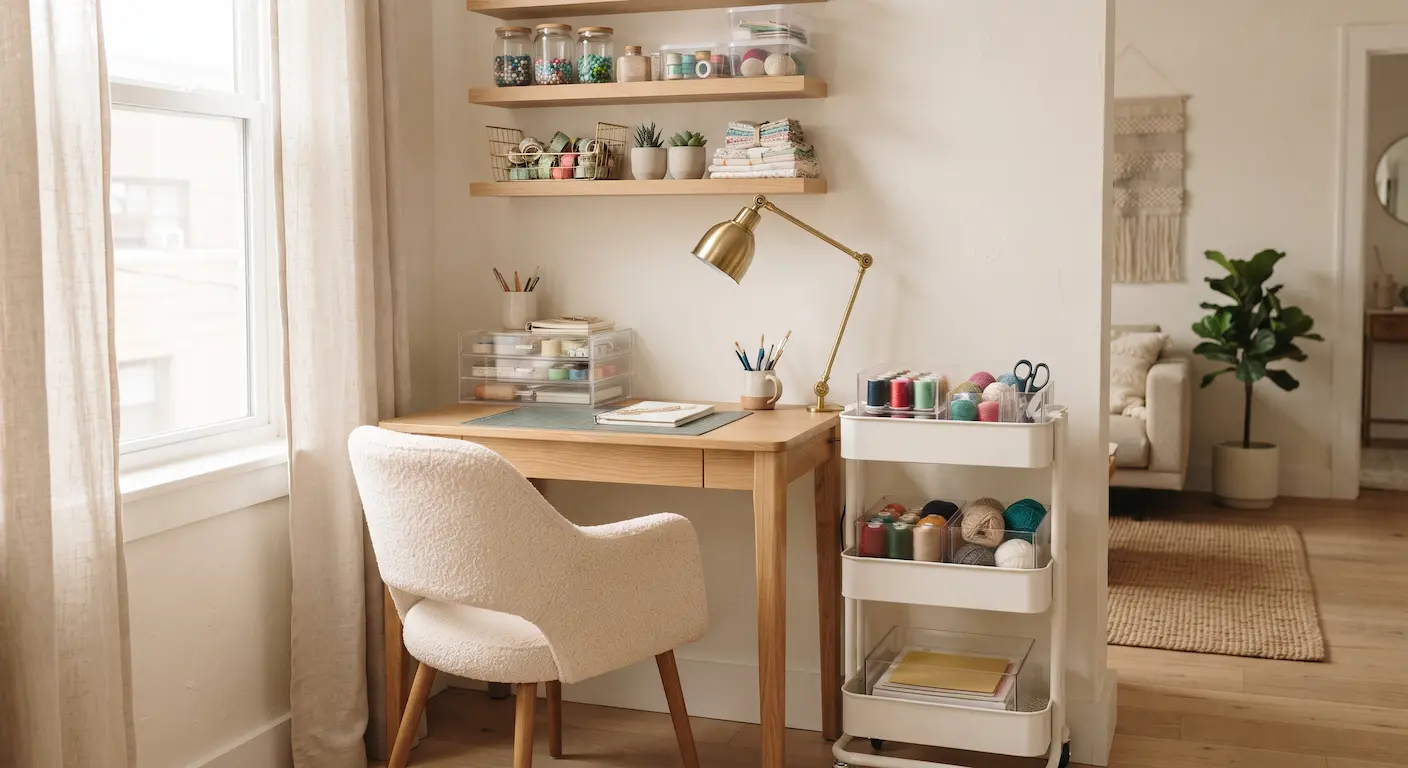
A rolling cart as the whole setup. The simplest version: cart holds the supplies, top tier is the surface, rolls out to wherever the light is good. Like this three-tier rolling cart.
A fold-down wall desk. The best permanent-but-invisible option. Up when you work, flat against the wall when you do not. Like this fold-down wall desk.
The dining table with a mat. Works fine as long as the pack-down is genuinely quick. Keep everything in one caddy that lives elsewhere.
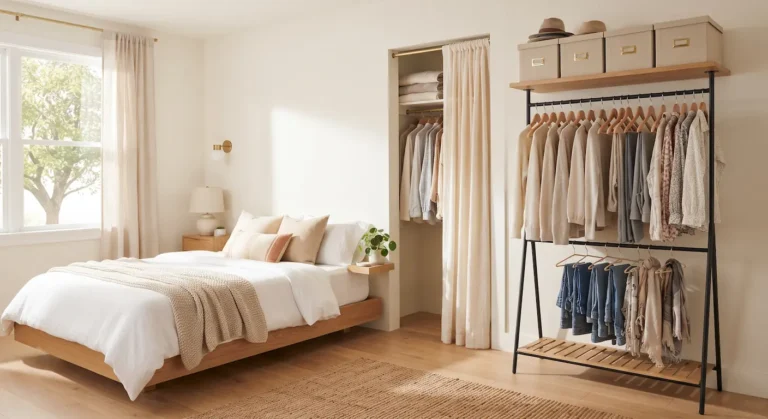
A closet. If you have a spare closet, that is the dream setup — doors close on the mess. The full method is in the cloffice guide, and it works identically for crafting.
Surface height matters. 28 to 30 inches for seated work. For cutting and standing work, higher is better for your back — a cart at 34 inches is often more comfortable than a table.
Light: The Part Everyone Under-Buys
Craft work needs far more light than the rest of the room. One overhead bulb in the middle of a room throws your own shadow onto the thing you are working on.
Get a directional task lamp and put it on the opposite side from your working hand.
Use a bright, neutral bulb at the desk — higher colour temperature than you would use in the living room, because colour accuracy matters when you are matching thread or paint. Like these bright bulbs.
Add a light strip under a shelf if the corner is dark, so the surface is evenly lit rather than spotlit. Like these LED light strips.
Work near a window during the day if you can. Daylight is still the best light for anything colour-critical, and it is free.
Storage: Up, Shallow and Visible
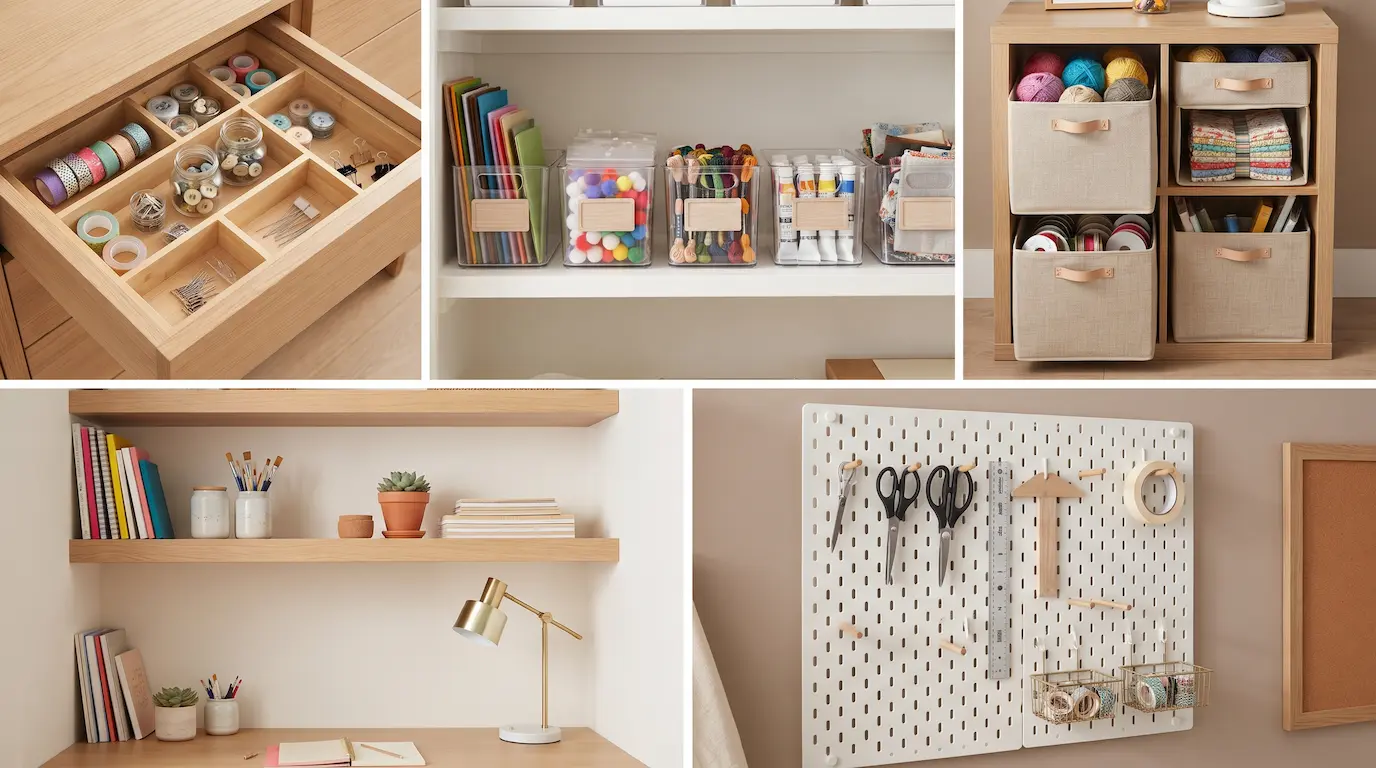
Craft supplies are small, numerous and varied, which is the worst combination for storage. The fix is shallow and visible.
- Shallow drawer inserts so you see everything at once instead of digging. Like these shallow drawer inserts.
- Clear bins for grouped supplies, labelled, one category each. Like these clear labelled bins.
- Fabric bins in a cube unit for bulky things like yarn and fabric. Like these fabric cube bins.
- Floating shelves above the surface for the things you use constantly. Like these floating shelves.
- An over-door rack or a pegboard for tools that hang — scissors, rulers, rolls of tape. Like this over-the-door rack.
Store by project, not by material type, if you work on projects. A bag per project means you can pick up where you left off in seconds.
Keep a jar of the five tools you always reach for on the surface itself. Scissors, pencil, ruler, and whatever your craft’s equivalent is.
The Pack-Down Rule
If setting up takes more than three minutes, the hobby stops. Design backwards from that.
Use one carry container. A caddy, a tray, a shallow box. Everything for a session lifts out together and goes back together.
Leave the work in progress out if you can, even covered with a cloth. Starting again from nothing is much harder than continuing.
Have a five-minute tidy at the end, not a full clear-out. Sharp things away, lids on, surface wiped. That is enough.
And keep the floor clear. In a small apartment the craft corner’s floor is also the walkway, and a bag of yarn is a trip hazard at 2am.
Three Setups That Fit Real Apartments
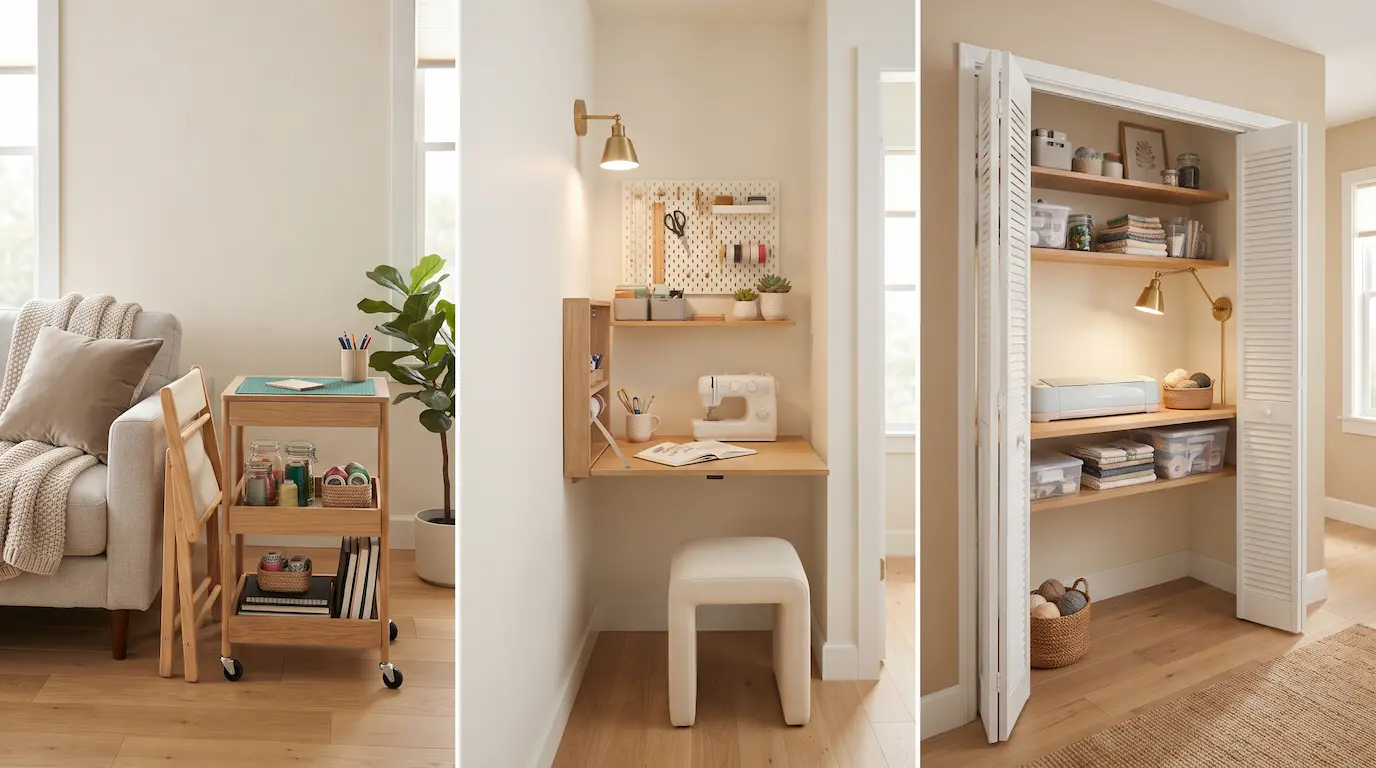
The cart-only setup. One rolling cart, one caddy, one folding chair. Lives beside the sofa or in a corner, rolls to the dining table when you work. Costs the least, fits anywhere, and is the right answer for knitting, drawing, journalling and small hand crafts.
The wall setup. A fold-down desk, two shelves above it, and a pegboard or hanging rack between the two. Takes about five inches of depth when closed, which is why it works in a hallway, a bedroom alcove or beside a window. Best for sewing, models and paper crafts.
The closet setup. A shelf at desk height, bins below, task light above, and doors that close on the whole thing. The most expensive in closet space and the cheapest in daily effort — you can leave a half-finished project out and nobody sees it.
Whichever you choose, add one chair you actually like sitting in. Crafting is sitting still for an hour, and a dining chair will end a session before your interest does.
The Shopping Order That Saves Money
Buy in this sequence and you will not waste anything.
- Light first. Cheapest, biggest difference, and it tells you whether the corner is workable at all.
- Surface second. Cart, fold-down desk or a mat for the table.
- One container third. Just one. Fill it, then see what does not fit.
- Specific storage last, once you know what you actually own and how you actually work.
Do not buy a storage system on day one. Craft storage is intensely personal, and the bins that suit a quilter are useless to a model builder. Use boxes you already have for a month, then buy the thing that fixes the real annoyance. Shelf styling, when you get there, is in how to style open shelving.
Ventilation and Safety
Do not use spray paint, solvent-based glues, resin or varnish in a small closed apartment. These need real ventilation, not an open window, and the fumes in a studio apartment reach every room including where you sleep.
Use water-based alternatives indoors and do the solvent work outdoors or in a garage. Follow the product’s own safety instructions, and use the mask type it specifies rather than a dust mask.
Oily or solvent-soaked rags can self-heat and catch fire. Never leave them balled up in a bin — spread them out to dry or store them in a sealed metal container, as the product label will tell you.
Unplug hot tools when you finish. Glue guns, soldering irons and irons left on are a genuine fire risk, and a small apartment gives fire nowhere to go.
Store blades and needles in a closed container, not loose in a drawer, and keep a proper cutting mat under anything you cut.
Contain the dust. Sanding, clay and glitter all travel much further than you expect. Work over a tray and vacuum rather than sweeping.
If Kids or Pets Share the Space
Everything sharp, small or toxic goes high or locked. Blades, pins, beads, adhesives and paints.
Give children their own low bin of safe supplies so they are not going into yours.
Watch out for cats and yarn. Swallowed string and thread is a serious veterinary emergency, so wind it away and close the bin rather than leaving a basket out.
Keep the work surface out of reach of a toddler, or accept that everything must be cleared every single time. A wall-mounted fold-down desk at adult height is genuinely the best option in this situation.
Keeping the Supplies From Taking Over
Set a container limit and hold it. One cart, or two bins, or one closet shelf. When it is full, you use something up before buying more.
Do a use-it-up month twice a year. Make things only from what you already own. It is genuinely satisfying, and it reveals what you over-buy.
Pass on the craft you stopped doing. Storing a hobby you abandoned three years ago is costing you space you need for the one you do now.
Store scraps in one bag, not six. Small leftovers multiply faster than anything else, and a single bag with a size limit keeps it honest.
The general version of this is in how to declutter a small apartment, and paper supplies specifically in how to deal with paper clutter.
Your Turn
Pick the corner this week, and set it up with one cart or one shelf. Then make something small in the first two days — that is what proves the setup works before you spend money on it.
If the corner is dark, fix the light before you buy any storage. It is the difference between a craft corner you use and one you photograph once.
Corner ideas, if you are not sure which one to claim, are in 15 ways to use an awkward corner and the desk version in how to fit a home office into a small apartment. What are you making first? 🙂