How to Divide a Studio Apartment Into Rooms (Without Building Walls)
A studio isn’t one room because of the walls. It’s one room because everything in it is doing the same thing at the same time. Your bed watches you eat dinner. Your desk watches you sleep. Nothing ever feels finished, because nothing ever ends.
Here’s the good news: you don’t need drywall to fix that. You need edges — visual signals that tell your brain one activity stopped and another started. Your brain is honestly not that hard to fool.
These are the seven ways I’d divide a studio, ranked roughly from cheapest to most committed, with what each one actually costs you in floor space.
Why Zones Beat Walls
A real wall in a studio is usually a mistake. It kills your light, it blocks airflow, it makes both halves feel like closets, and if you rent, it’s not happening anyway.
Zoning does the same job by suggestion. You’re not hiding the bed — you’re making it read as somewhere else. That’s a lower bar than it sounds, and it’s why a five-foot bookshelf outperforms a seven-foot partition almost every time.
The rule I use: divide the sight line, not the room. Break what you see from the sofa, and the space splits. Block the whole room and you just built two bad rooms.
The 7 Ways to Split a Studio
1. Zone With a Rug (Start Here)
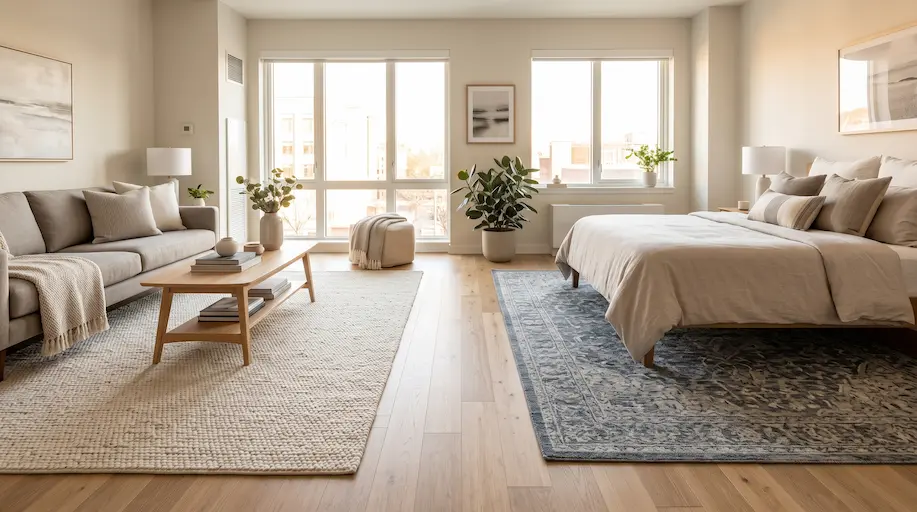
Two rugs, two rooms. Put one under the sofa and coffee table, another under the bed, and leave bare floor between them. That gap is the hallway, and your eye reads it instantly.
Costs you: nothing in floor space. Gets you: maybe 60% of the effect of a real divider.
Do this first, before you buy anything else. It’s reversible, it’s cheap, and it tells you where your zones actually want to be. IMO most people skip straight to furniture and end up dividing the room in the wrong place.
Watch out: the rugs need to differ in color or texture. Two identical rugs read as one interrupted rug.
2. Turn Your Sofa Around
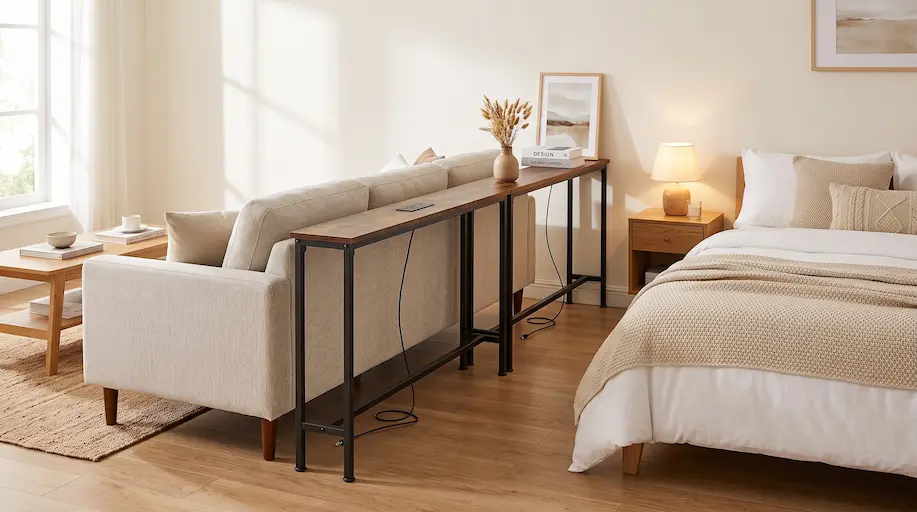
Pull the sofa off the wall and float it with its back to the sleeping area. The back of a sofa is a wall — you already own it, and it’s exactly the right height to block a bed from a seated eyeline.
Costs you: roughly a foot of walking clearance behind it. Gets you: a genuine boundary for zero dollars.
Add a narrow console table behind the sofa and the boundary thickens into storage. Ever notice how hotel rooms do this constantly? There’s a reason.
Watch out: floating furniture eats circulation space. Measure your walkway before you commit — anything under about 30 inches feels like a squeeze.
A solid example: SUPERJARE 78.8″ Behind-Couch Console Table with Outlets
3. The Open Bookshelf
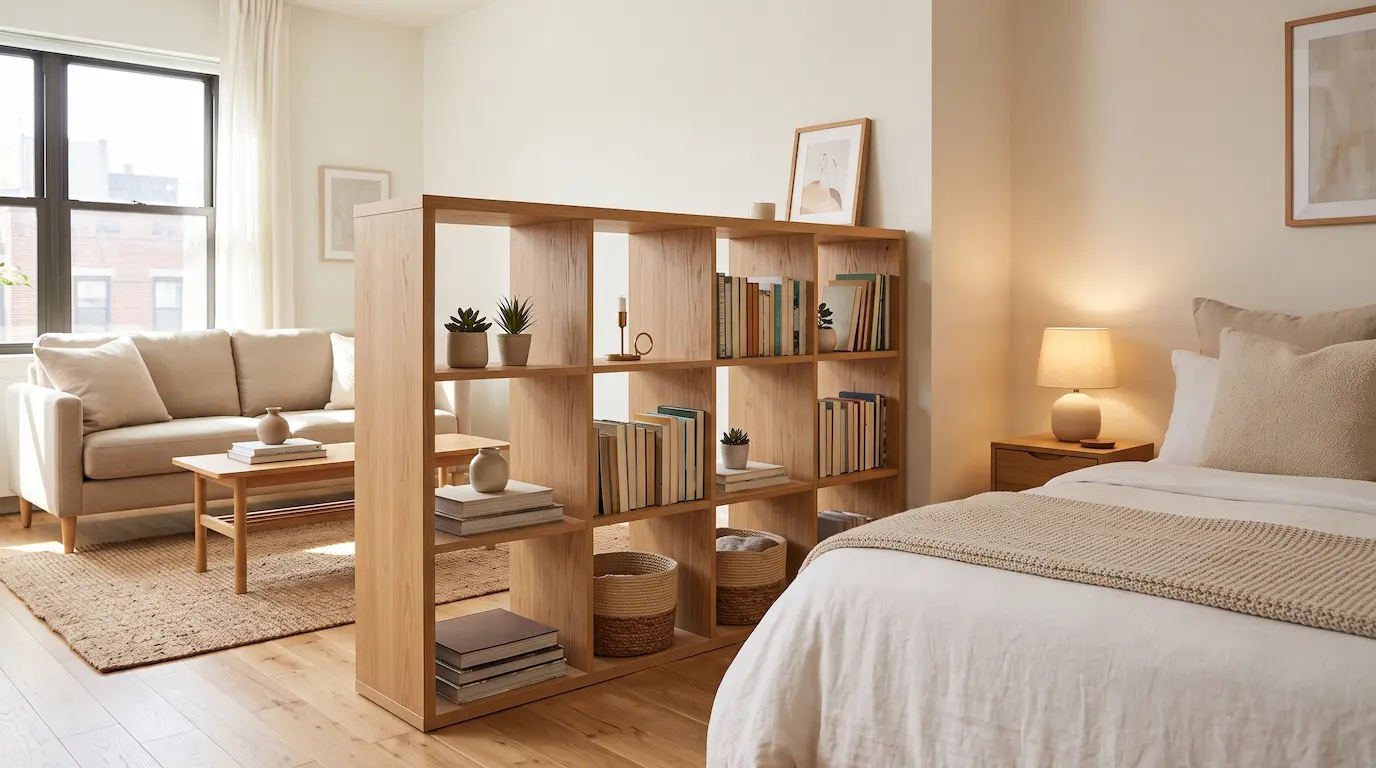
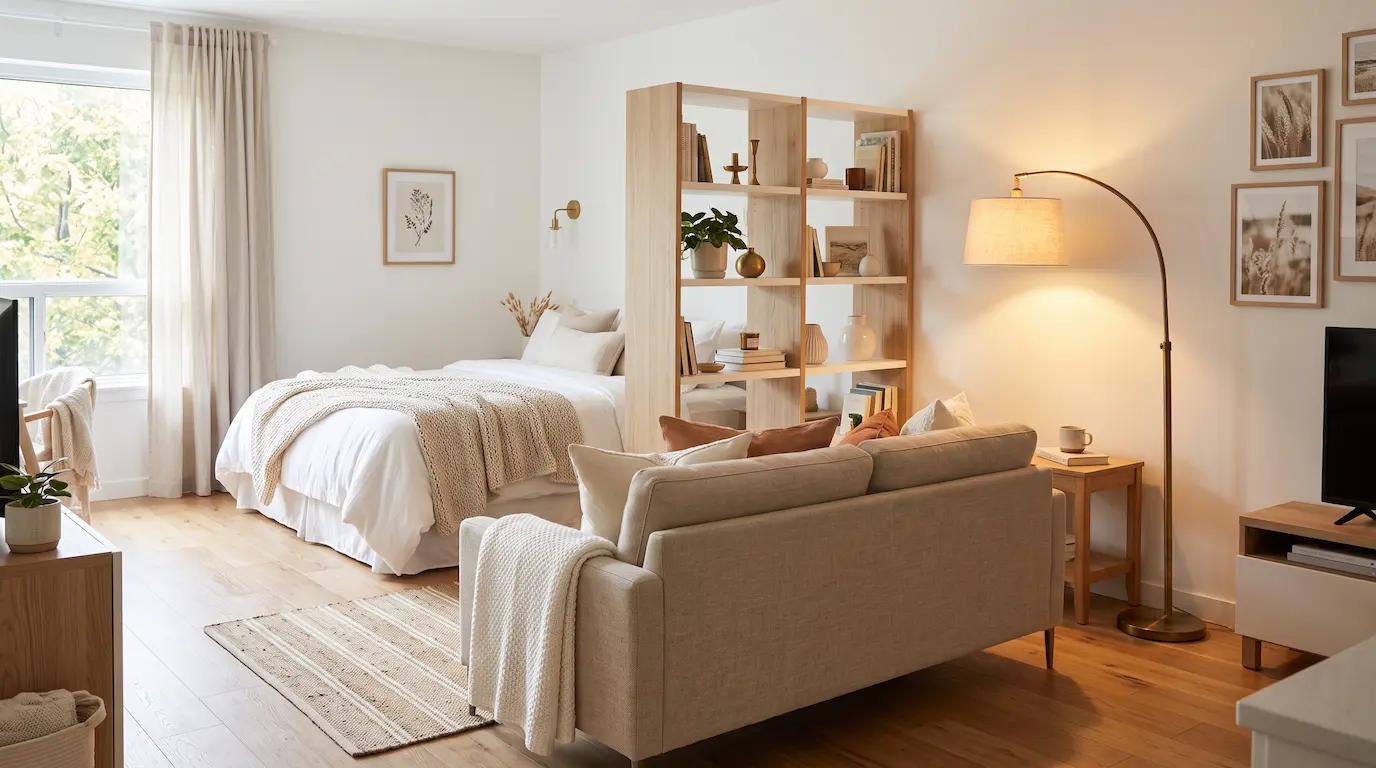
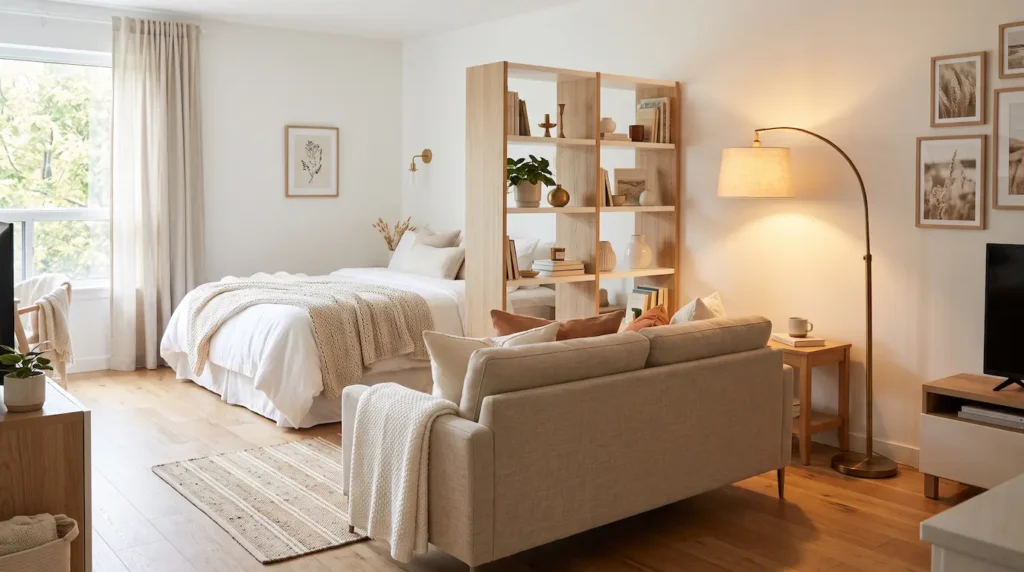
An open-backed shelf placed perpendicular to the wall is the workhorse of studio division. It splits the room, stores your things, and still passes light through both sides.
Costs you: about 12 inches of depth. Gets you: division plus storage, which nothing else on this list does at once.
Keep it under about five feet if you want light to travel. Load the heavy items on the bottom shelf, both for stability and because a top-heavy divider next to a bed is a genuinely bad idea. I go deeper on this in 12 multifunctional furniture pieces for studios, where it’s one of the twelve.
Watch out: if you rent, anything taller than about five feet needs an anti-tip anchor, and anchors mean holes.
A solid example: COMHOMA 9-Cube Open-Back Shelf
4. Ceiling-Track Curtain
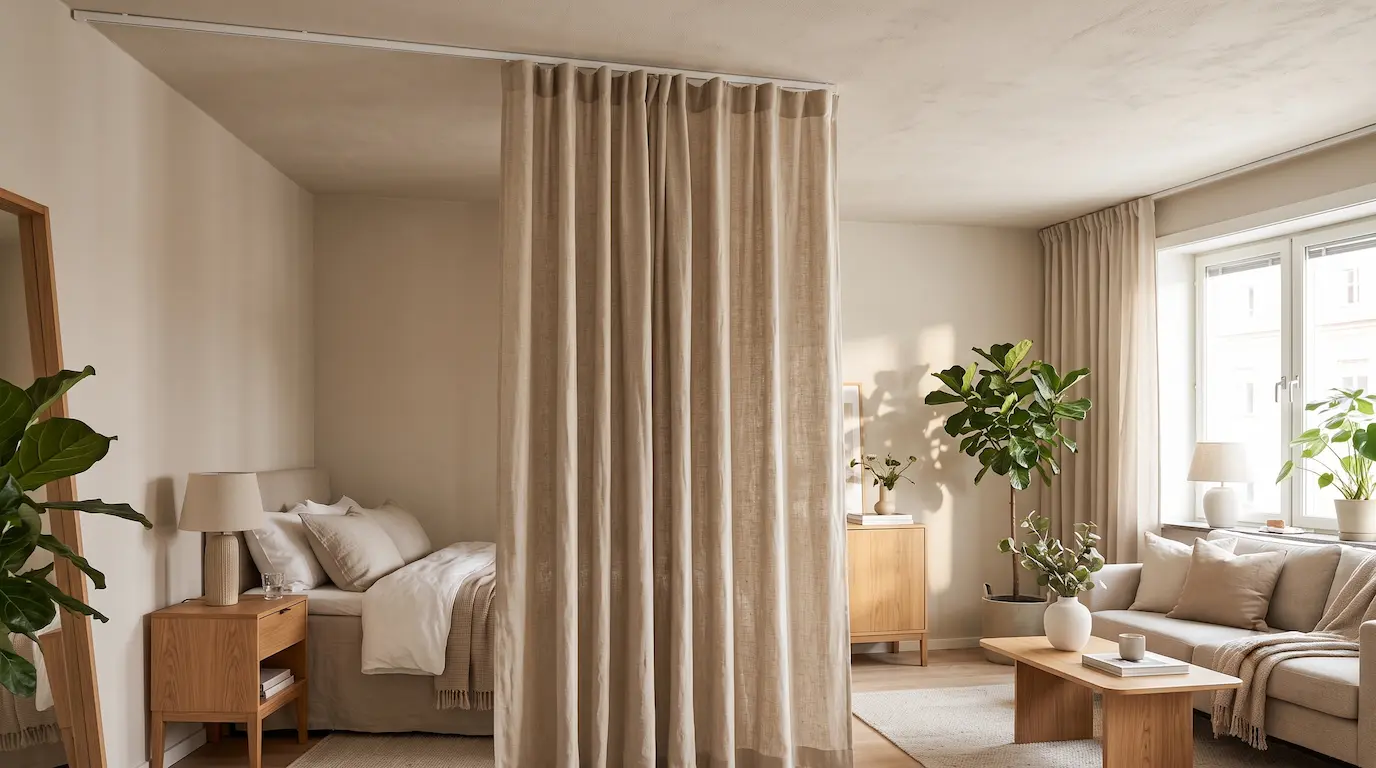
A curtain on a ceiling-mounted track is the only option here that gives you actual privacy — the kind you want when a guest is sleeping four feet from your kitchen.
Costs you: about two inches. Gets you: full visual separation, on demand, that disappears when you slide it open.
Heavier fabric divides better and muffles sound a little. Sheer fabric looks lovely and divides almost nothing, so pick based on what you actually need.
Watch out: ceiling tracks need screws into joists, which is the least renter-friendly item on this list. Tension rods work in a narrow alcove but sag across an open span. FYI a sagging curtain reads as “unfinished,” not “cozy.”
A solid example: RoomDividersNow Ceiling Track Room Divider Kit (3-18 ft)
5. Divide With Light
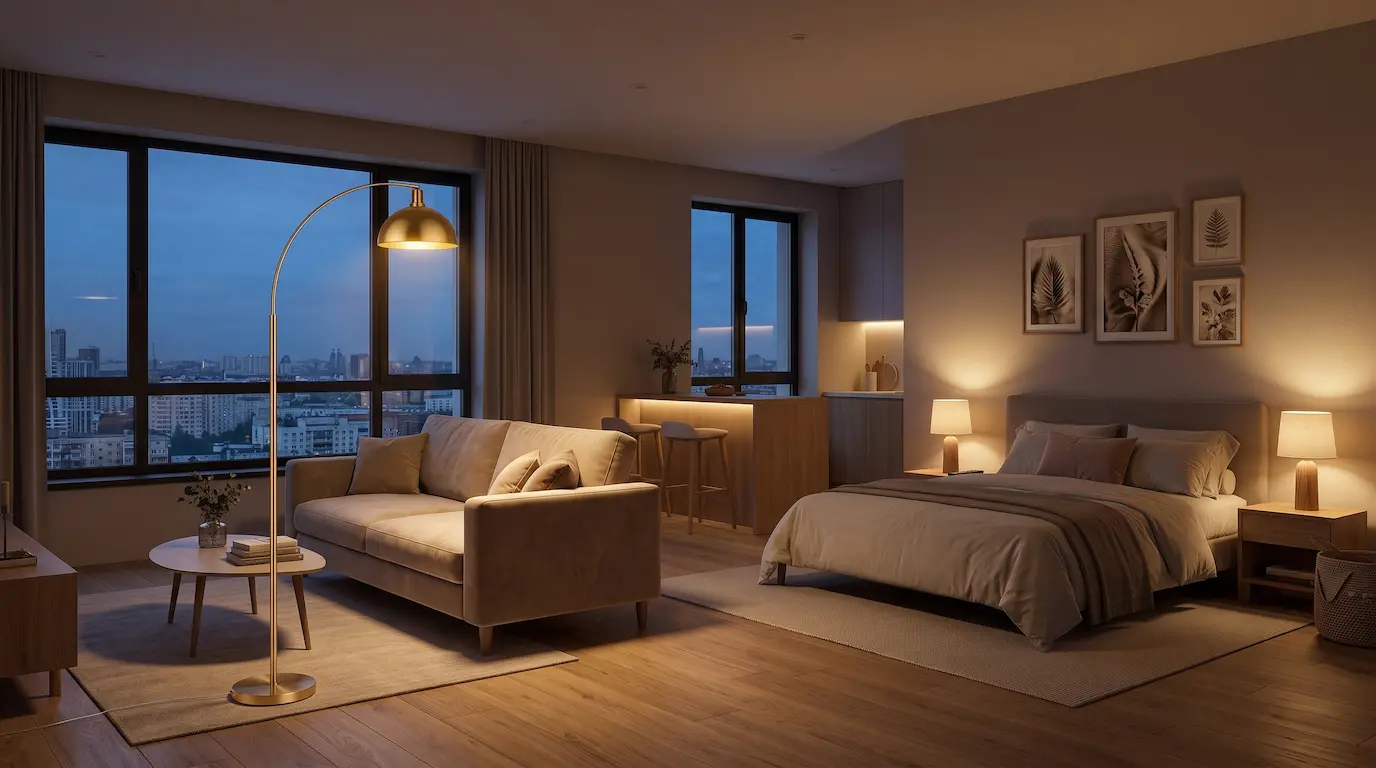
Give each zone its own light source and stop using the ceiling fixture. A floor lamp over the sofa, a bedside lamp, a strip under the kitchen counter — and if you work from home, a task light at the desk — three pools of light instead of one flat wash.
Costs you: zero floor space. Gets you: zones you can feel but not see.
This is the most underrated technique here. Overhead light flattens a room into one undivided box. Lamps carve it into places. Put them on separate switches or smart plugs, and “work mode” and “evening mode” become two different rooms in the same square footage 🙂
Watch out: match your bulb temperature across zones or the room reads as chaotic rather than layered.
A solid example: Dimmable Arc Floor Lamp with Remote
6. Folding Screen
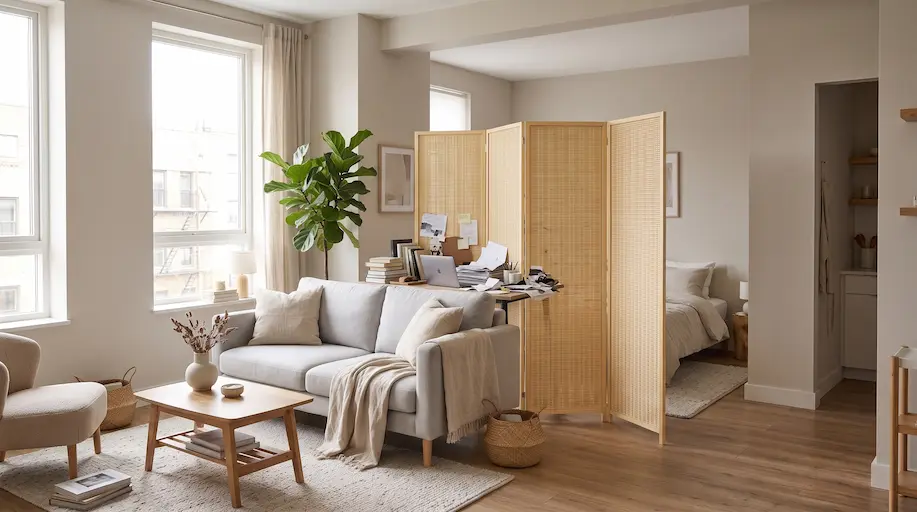
A hinged panel screen that stands on its own, blocks a sight line, and folds flat into a closet when you want the room whole again.
Costs you: a few inches while open, nothing while stored. Gets you: flexible division with zero installation.
Honestly this is the best renter option on the list. Nothing touches a wall, nothing needs a tool, and it moves with you. It’s also the fastest way to hide a messy desk before people arrive, which I’d argue is a legitimate design requirement.
Watch out: lightweight screens tip. Check the weight before you buy, especially if you have pets or a door that slams.
A solid example: JOSTYLE 4-Panel Bamboo Folding Screen (no assembly)
7. Change the Floor Level
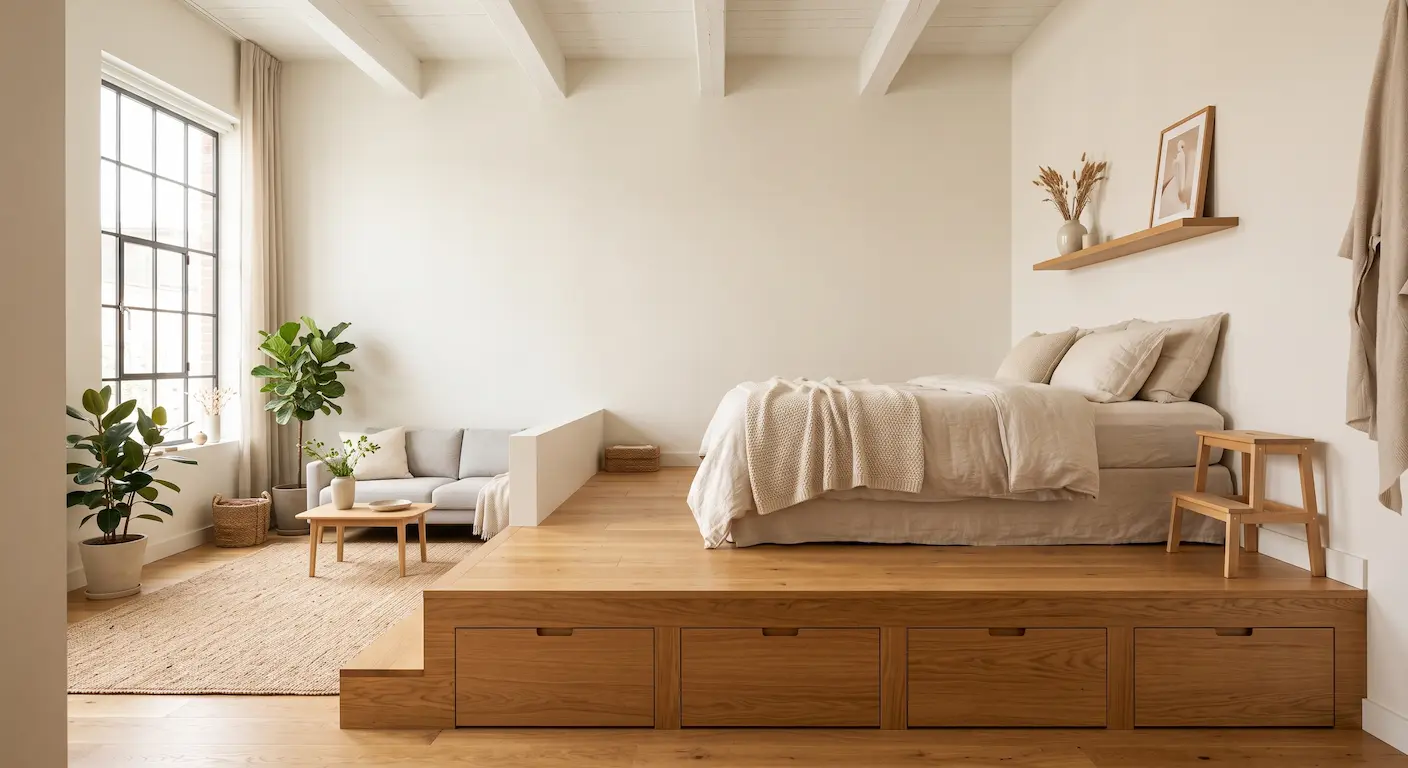
A raised platform under the bed — or a loft, if your ceilings allow — divides by height instead of by width. Your brain reads a level change as a different room even when nothing blocks the view. If the sleeping zone is the problem, see 15 small bedroom ideas.
Costs you: ceiling height and a weekend. Gets you: the strongest division here, plus deep storage underneath.
This is the most committed option and the most transformative. It’s also the one to skip if you rent, have ceilings under nine feet, or would rather not build furniture.
Watch out: measure your ceiling before you fall in love with a loft. Sitting up in bed and hitting drywall gets old fast.
What None of These Fix: Sound
Every method above divides what you see. Not one of them meaningfully divides what you hear, and in a studio that gap shows up fast — the moment someone sleeps on your sofa while you make coffee, or you take a call while your partner watches TV.
You can’t soundproof a studio without construction. But you can soften it, and softening is most of the perceived difference:
- Textiles absorb, hard surfaces bounce. Rugs, heavy curtains, upholstered furniture and fabric wall hangings all cut the echo that makes one voice fill an entire apartment.
- A full bookshelf beats an empty one. Books are genuinely decent sound absorbers, so a loaded divider does double duty. An empty shelf reflects sound like a wall.
- Heavy curtain over sheer. If you install a ceiling track anyway, blackout-weight fabric buys you both privacy and a real drop in noise transfer.
- Give the noisy zone the hard surfaces. Put the kitchen against tile and bare wall, and pile the soft stuff where you sleep.
None of this makes a studio quiet. It makes it feel less like everyone is standing in the same box, which is the actual goal.
Which One Should You Actually Use?
Pick based on your constraint, not your Pinterest board:
- You rent and can’t drill? Rug + turned sofa + folding screen. All three, together, cost you nothing permanent. See also what else renters can change safely.
- You need real privacy for guests? Ceiling-track curtain. Nothing else fully blocks a sight line.
- You’re short on storage? Open bookshelf. It’s the only divider that gives space back.
- Your studio is long and narrow? Divide across the short dimension, and lean on lighting. A physical divider in a narrow room creates two corridors.
- Your studio is square with high ceilings? Platform or loft. Square rooms divide badly sideways and beautifully vertically.
And you can stack these. The best studio divisions use two or three quiet techniques rather than one loud one.
Three Mistakes That Make It Worse
- Dividing in the middle. Two equal halves make both feel small. Split it roughly 60/40 and give the bigger share to whatever you do most.
- Blocking the window. Never put a divider between your only window and the rest of the room. You’ll gain a boundary and lose all your light, and light does more for a small space than any furniture on this list.
- Going too tall. A divider that reaches the ceiling turns a studio into two closets. Stop around five feet and let the air keep moving above it.
Your Studio Already Has Rooms in It
You’re not adding rooms. You’re revealing the ones already there — the corner that’s clearly the office, the strip that’s clearly the hallway, the part that’s clearly for sleeping. All you’re doing is drawing the lines.
Start with the rug, because it costs almost nothing and tells you whether your zones are in the right place. Then add one physical divider and one lighting change. That combination handles most studios without a single hole in the wall. Once the zones are set, work through the 20 storage spots most small apartments waste.
Which zone is fighting you most — the bed, the desk, or the kitchen? Tell me in the comments and I’ll tell you which of the seven to try first.
As an Amazon Associate I earn from qualifying purchases. If you buy through a link here, I may earn a small commission at no extra cost to you — it never changes what I recommend.